개요
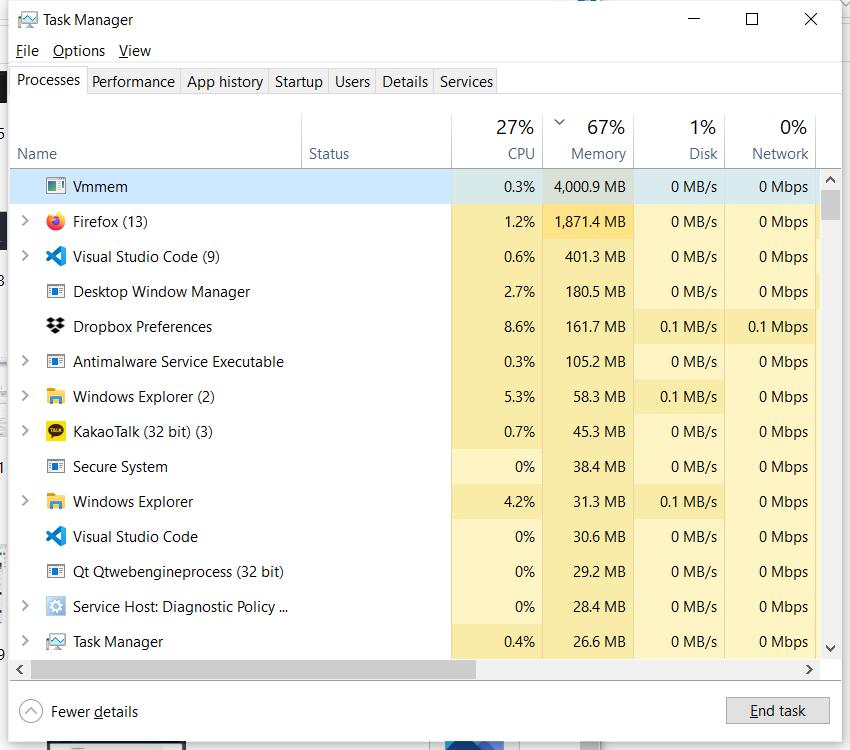
커널 분석을 위해 WSL을 이용하도록 환경을 구성하자 서브시스템에서 사용하는 메모리나 CPU 자원이 상당하였다. 16기가 램 중에 무려 12기가를 사용하는 일이 비일비재했다. Vmmem 이라는 프로세스로 엄청난 리소스가 소모되고 있었고 이러한 내용은 다른 블로그에서도 동일하게 재현되고 있었다.
위 블로그에 나와있는 이 문제에 대한 해결법은 간단하다. 아래와 같이 WSL 설정파일을 하나 생성해서 사용할 리소스를 직접 명시해주면 된다.
WSL 리소스 설정
먼저, 실행 중인 WSL을 확인한 후 아래와 같이 종료한다.
PS C:\Windows\system32> wsl -l -v
  NAME      STATE           VERSION
* Ubuntu    Running         2
PS C:\Windows\system32> wsl -t Ubuntu --shutdown
PS C:\Windows\system32>
PS C:\Windows\system32> wsl -l -v
  NAME      STATE           VERSION
* Ubuntu    Stopped         2
종료한 후에는 아래 경로에 새 파일을 만들어주고 아래와 같이 작성해주자.
PS C:\Windows\system32> notepad $env:USERPROFILE\.wslconfig
이제 아래와 같이 설정해주자. 이제 WSL2에서 사용할 메모리는 최대 4G로 제한된다.
[wsl2]
#kernel=<path>              # An absolute Windows path to a custom Linux kernel.
memory=4G              	    # How much memory to assign to the WSL2 VM.
#processors=<number>        # How many processors to assign to the WSL2 VM.
#swap=<size>                # How much swap space to add to the WSL2 VM. 0 for no swap file.
#swapFile=<path>            # An absolute Windows path to the swap vhd.
#localhostForwarding=<bool> # Boolean specifying if ports bound to wildcard or localhost in the WSL2 VM should be connectable from the host via localhost:port (default true).

# <path> entries must be absolute Windows paths with escaped backslashes, for example C:\\Users\\Ben\\kernel
# <size> entries must be size followed by unit, for example 8GB or 512MB
이제 설치한 WSL의 바로가기를 눌러 WSL을 다시 실행시킨다. 윈도우즈의 Task Manager를 보면 아래와 같이 설정한 값으로 메모리 사용이 제한되는 것을 알 수 있다.